Creating a Timeline
There are two ways to create a timeline:
-
In the calendar: This process allows you to quickly and clearly create directly in the calendar.
-
In the detailed view: With this procedure you can directly set more details about the timeline.
-
Starting from the sidebar navigation, click > Planner > Calendar.
-
Right-click on the line of the element for which you want to create a timeline.
-
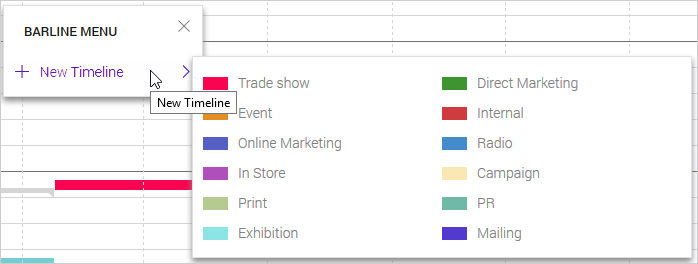
Click in the context menu.
-
Click the desired category.
-
Place the cursor in the line of the element on the desired start date of the timeline.
-
Left click to define the start date for the timeline and hold the mouse button down.
-
With the mouse button held down, drag the timeline to the desired end date and release the mouse button.
The context menu expands.
The context menu is hidden. When you move the cursor in the calendar, the respective position is displayed as a date in a tooltip.
You have created a new timeline. If you would like to add information, double click the timeline. The dialog box will then open.
Note
If you click and immediately release the mouse in step 6, a timeline with a duration of one day is created. You can then increase the duration by editing the timeline in the detailed view.
-
Starting from the sidebar navigation, click > Planner > Calendar.
-
Double click on the line of the element for which you want to create a timeline.
-
Go to the Timelines tab.
-
Click .
-
Optional: Enter the name of the timeline in the topmost input field.
-
Enter the start and end date of the timeline.
-
Choose a category.
-
If available in your system: Add information to the timeline. See the chapter Additional Information.
-
Click on .
The detailed view of the element is displayed.
The Add Timeline dialog box opens.
You have created a timeline in the detailed view.